By: Bryce Capodieci
In the previous article we discussed how external factors affect the camera’s bitrate. Such examples include camera placement and scene complexity. The focus being on removing unnecessary data to lower the bitrate. This article will focus on camera settings and technologies that will help reduce the bitrate.

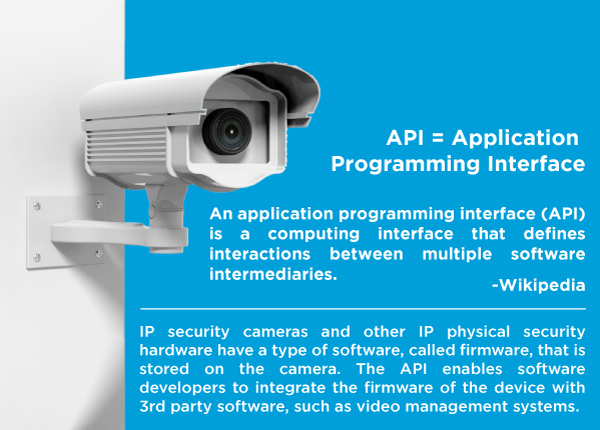
In some cases, some camera manufacturers have API’s in place that will allow third-party video management software to affect change on some of the camera’s configurable settings, such as resolution, frame rate, GOP (Group of Pictures), and video streaming codec. However, most of the time you must log into the camera interface to update most of these variables and many others. It’s not a best practice to leave the camera in its default settings. These default settings are meant to give you the best video quality and performance.
However, there is a cost to this high performance. Having the highest level of video quality is not usually necessary in most installations. If there are a large number of cameras on the network, keeping default settings can slow down the network to where streaming video is very choppy and sluggish. These cameras can also bog down the server hosting these cameras. Lastly, they will take up an unnecessary amount of storage on your hard drives.
So where do you start? Where can you optimize systems settings without sacrificing too much on video quality? The easiest place to start is the frame rate. For most cameras, the default frame rate is anywhere from 20 fps – 30 fps. If the camera is monitoring cash transactions, casino tables, high speed objects, then having a high frame rate is obvious and necessary.
But is this same frame rate required to monitor a school hallway, a warehouse, or a parking lot? The answer is… probably not. Bringing the frame rate down to 10 fps – 15 fps will work sufficiently in these scenarios. The human eye will find it difficult to detect the difference between 15 fps and 20 fps, but the amount of bandwidth and storage required for 20 fps versus 15 fps is substantially more. So dropping the streaming frame rate down to a range of 10 fps to 15 fps is your first step.

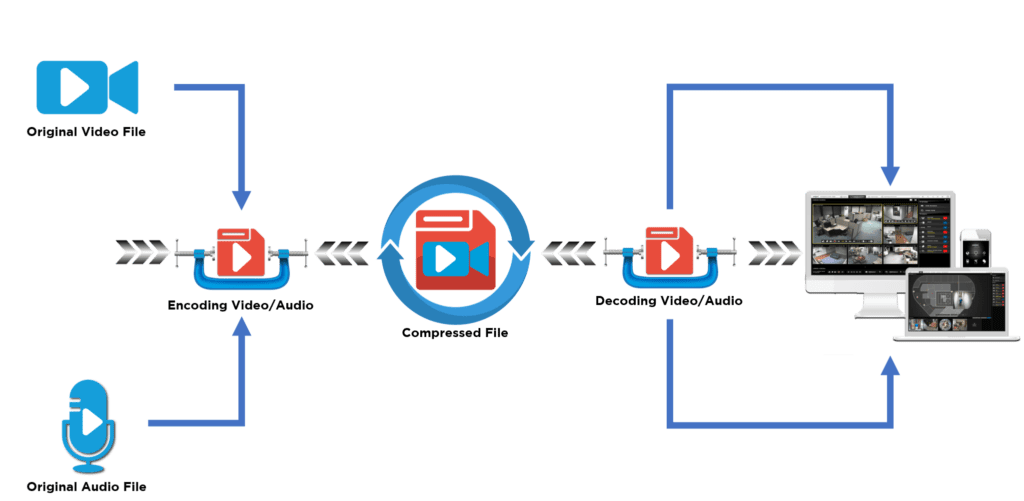
It is important to mention here that streaming codecs such as MJPEG, H.264 and H.265 all impact the bitrate differently in regard to the frame rate. When using MJPEG, the bandwidth and the bitrate increase proportionally since you are transmitting full, identical frames each second. H.264 and H.265 are more efficient at higher frame rates. The reason for this is because these codecs do not respond proportionally to the changes in frame rates because the identical frames within a sequence of video are not transmitted. We have more information on bitrate in Pt. 1 of this series.

Optimizing the GOP (Group of Pictures) setting is not necessarily the next step, but since we were just talking about streaming codecs H.264 and H.265, it is appropriate to mention how this setting affects the bitrate. Adjusting this setting may take trial and error for the best performance. What does the GOP setting do? This feature controls the frequency at which I-frames are captured.
The technology behind the streaming codecs H.264 and H.265 are based on I-frames and P-frames. Without going on a tangent to discuss this technology, just know that I-frames are complete images. The subsequent frames are P-frames that only consist of the changes from the I-frames. All other data is removed because it is redundant and unnecessary. How many P-frames exist until the next I-frame? That’s where the GOP setting defines the frequency of P-frames.
P-frames are complete frames and increase the bitrate. As the GOP number decreases, more I-frames are transmitted in a shorter amount of time, so the bitrate increases. This also increases your video quality. As the GOP number increases, fewer I-frames are captured and thus the bitrate decreases. The trial and error comes into play here to raise this number as high as possible without affecting the video quality too much.
Adjusting the GOP parameter could be reserved for more advanced technicians. But updating the MBR (maximum bitrate) settings can be quite easy. This setting sets the maximum bitrate the camera will stream. The default settings are different for each manufacturer and increase as the resolution capabilities increase on the camera. What is the appropriate setting? The answer is that it depends on your network.
If you have a low number of cameras on your network, plenty of bandwidth and storage capacity. You may not need to limit your max bitrate, so you don’t have to sacrifice on video quality while viewing complex scenes. However, a good rule of thumb to follow in situations where network bandwidth and storage is a concern, consider setting the max bitrate to match the camera resolution. If you are using a 2 MP camera at 10 fps, consider setting the maximum bitrate to 2000 kbps.
At a lower frame rate of 10 fps, you can choose 1000 kbps per mega pixel of camera resolution. At this resolution and doubling your frame rate, it might be appropriate to increase your maximum bitrate by 1000 kbps. Again, this is only a rule of thumb and not specific science. You may need to monitor your bitrate and video quality simultaneously to ensure you are not capped out on the bitrate and sacrificing video quality.

It may go without saying that decreasing the camera resolution decrease the bitrate. “But I paid for an 8 MP camera. Why would I ever want to set this up for 2 MP’s?” That is a valid question. If you purchased a high resolution camera, it is understandable that you want to capture the detail this camera is capable of viewing. Instead you can review the other technologies the camera has to offer.
Look for camera manufacturers that offer technologies to reduce the bitrate in low-light environments. In low-light environments, as the exposure time decreases more gain is used. More gain equates to more noise in the data stream which causes the bitrate to increase. Image stabilization may be another feature to utilize in tough environments that are subjected to wind or vibrations from traffic or heavy machinery.
If the camera is constantly shaking due to the vibrations of its environment, that creates a very complex scene for the camera to capture, thus this will cause dramatic increases on the bitrate. Some camera manufacturers offer EIS (Electronic Image Stabilization). When enabled, this will dramatically decrease the bitrate. WDR (Wide Dynamic Range) is a great feature to use when low light areas and high light areas are within the same field of view. It may be difficult to disable this feature and lose the ability to identify objects or people within that same field of view. However, keep in mind that WDR usually increases the bitrate by 15-25%.

As an integrator, you may be reading this while shaking your head. Who has the overhead to spend the time setting up each camera for such optimization? This work can be time consuming, multiplied by the high camera count on your deployment. The best advice to give here with an understanding that time is money, is to reach for the low hanging fruit. Reduce the frame rate and set a maximum bit rate appropriately. The other configurations can be reserved for situations where reducing the bitrate is critical for the system performance or if hard drive space is limited.
In the upcoming April 2021 article of this series, we will summarize the many topics covered in these three articles. With the knowledge presented in these articles, we hope you can make informed decisions to improve your surveillance system by decreasing unnecessary data, thereby decreasing your bitrate.

